Members
The Members panel allows you to add individuals to your project who can help manage it. Each member is added using their User ID and assigned a specific role to define their permissions.
Adding a Member
To add a new member to your project, follow these steps:
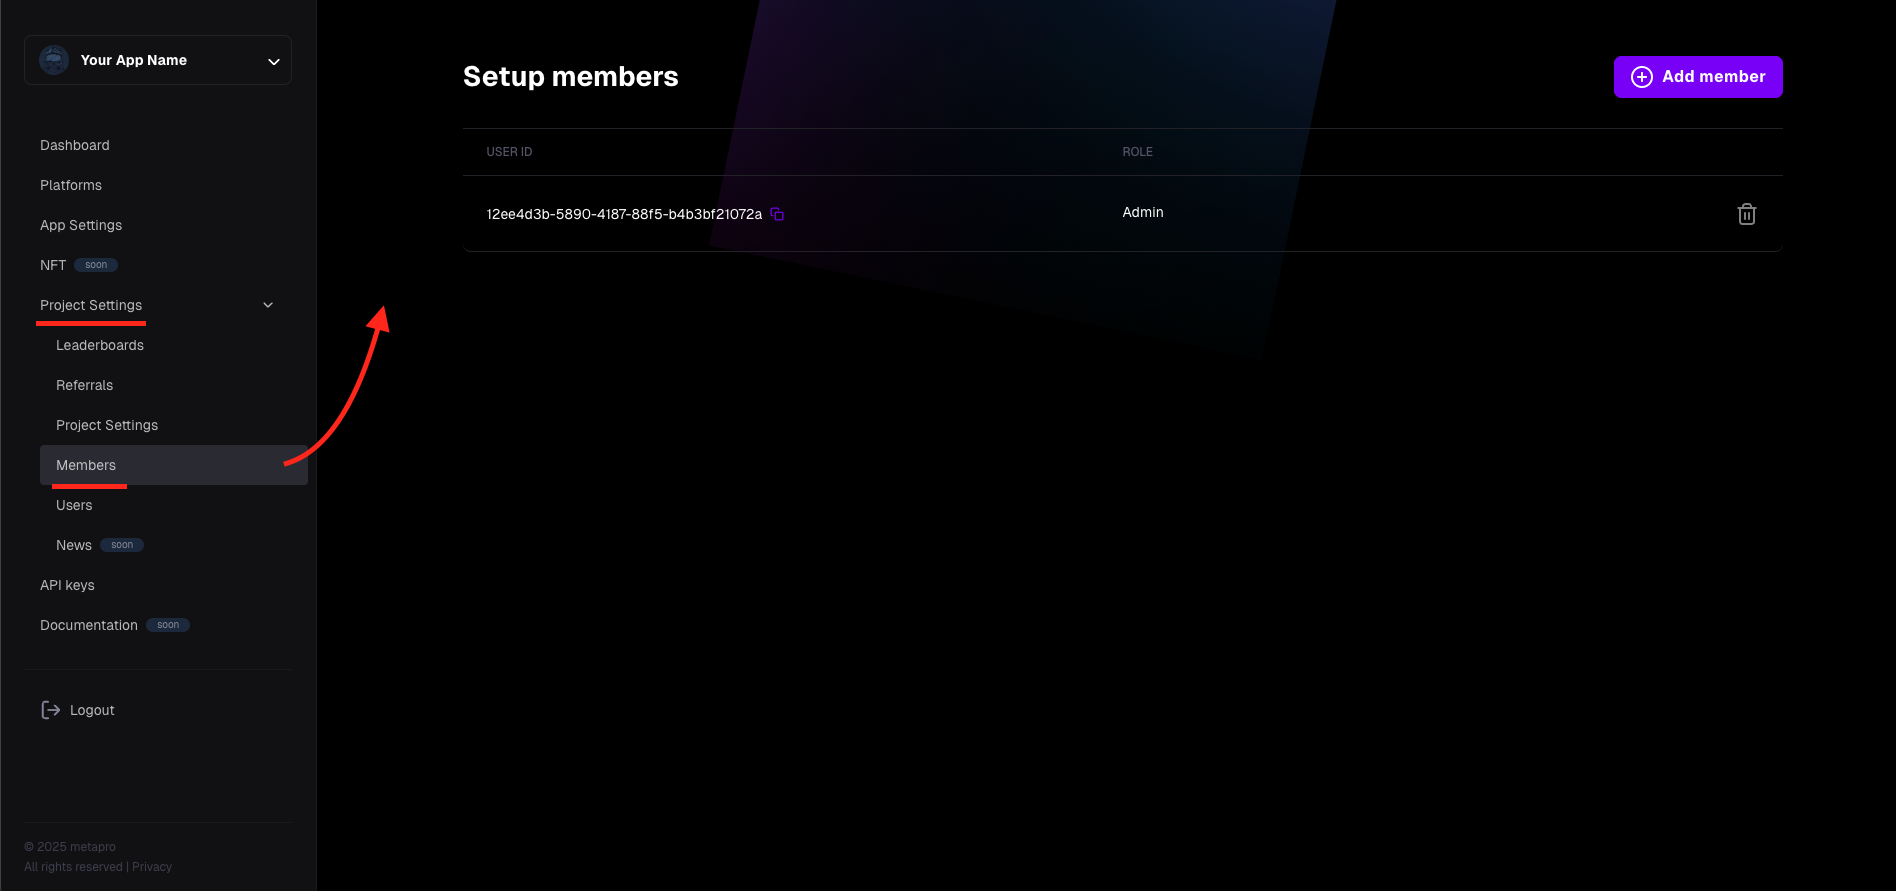
- From the Creator Portal, navigate to Project Settings -> Members.
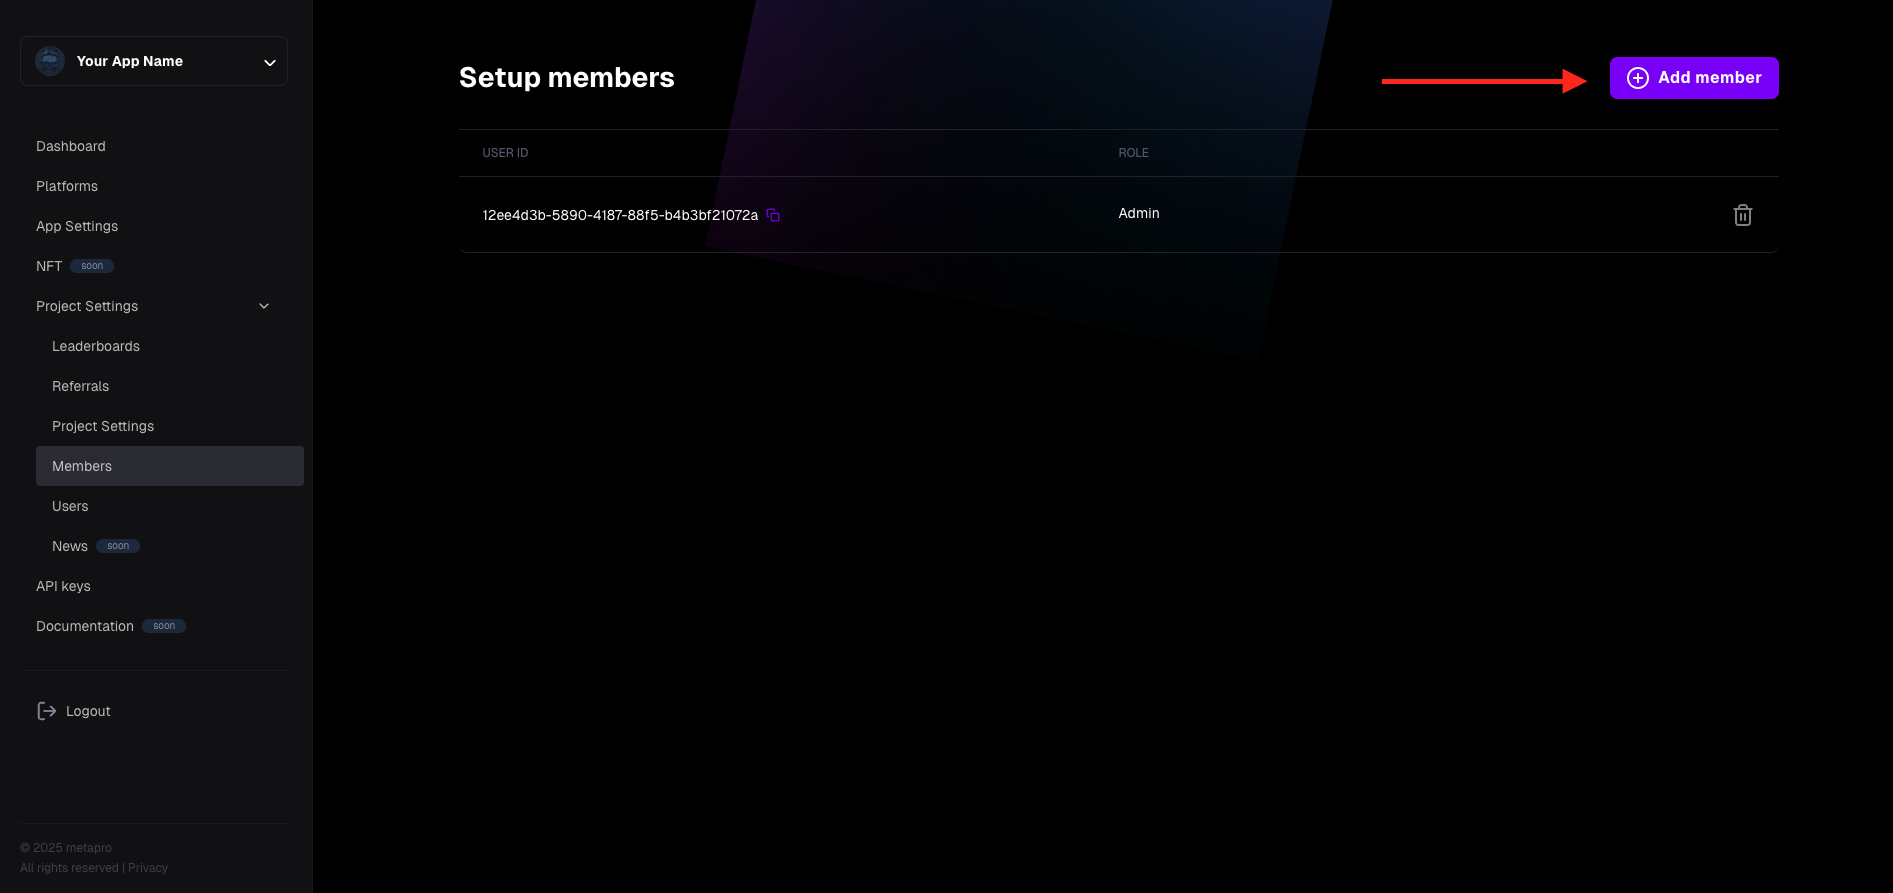
- Click the "Add member" button.
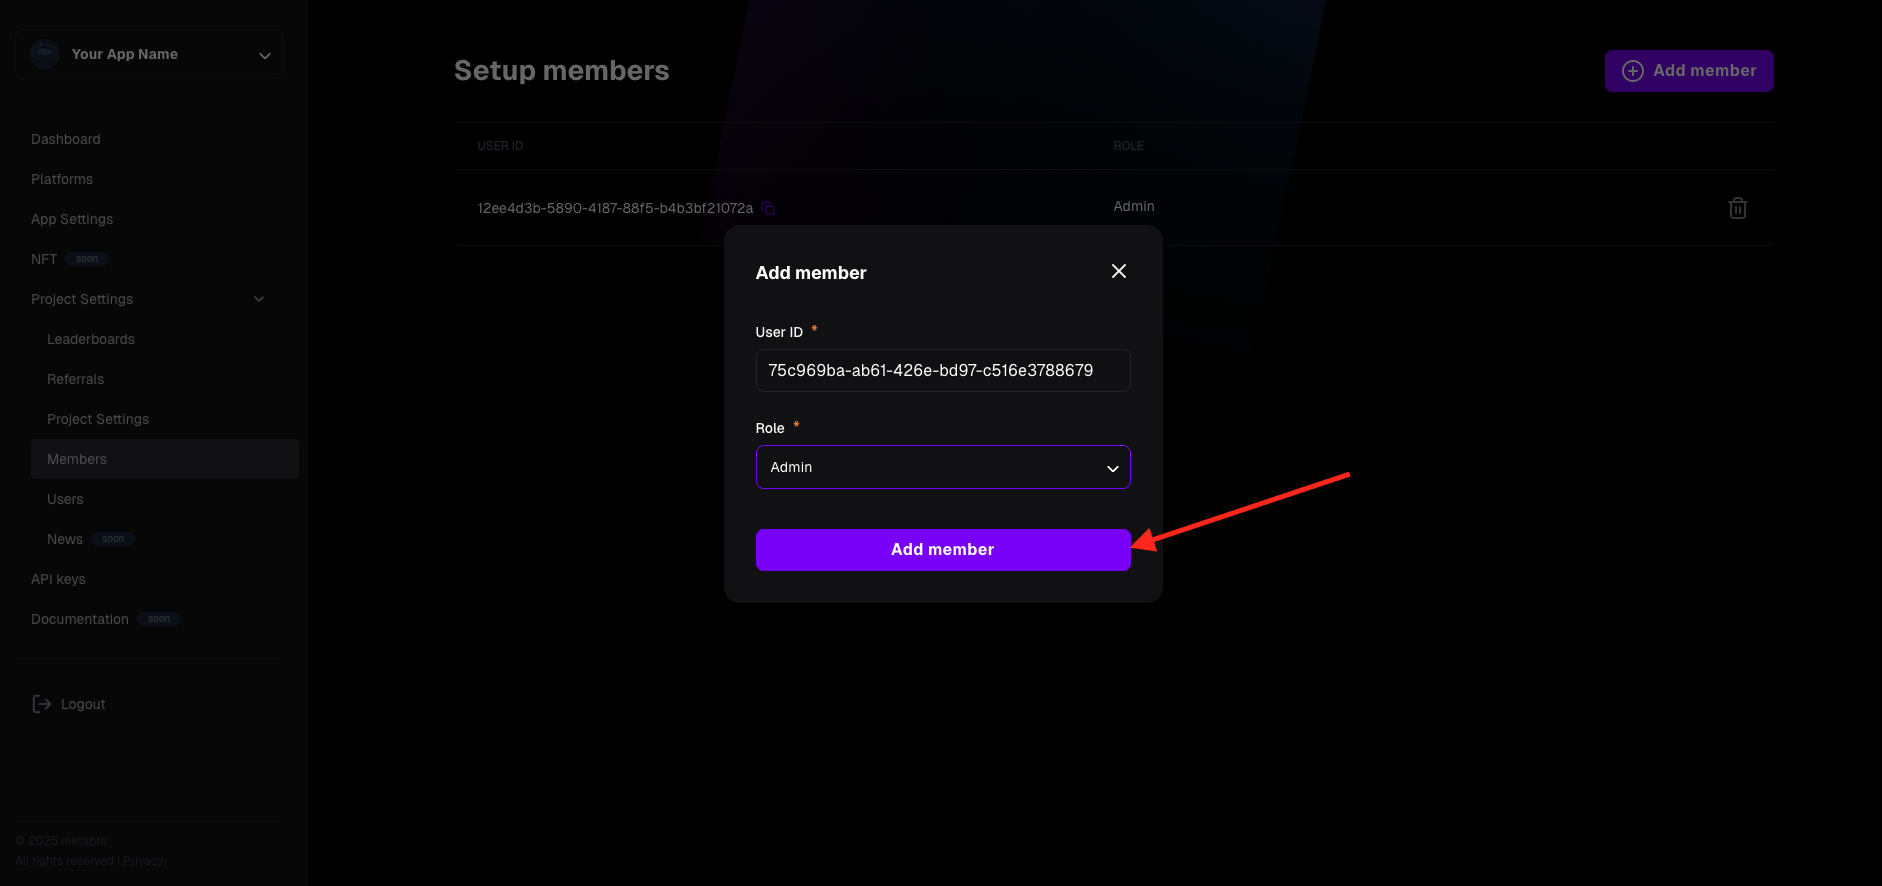
- A dialog window will appear. Enter the User ID of the person you want to add in the provided field.
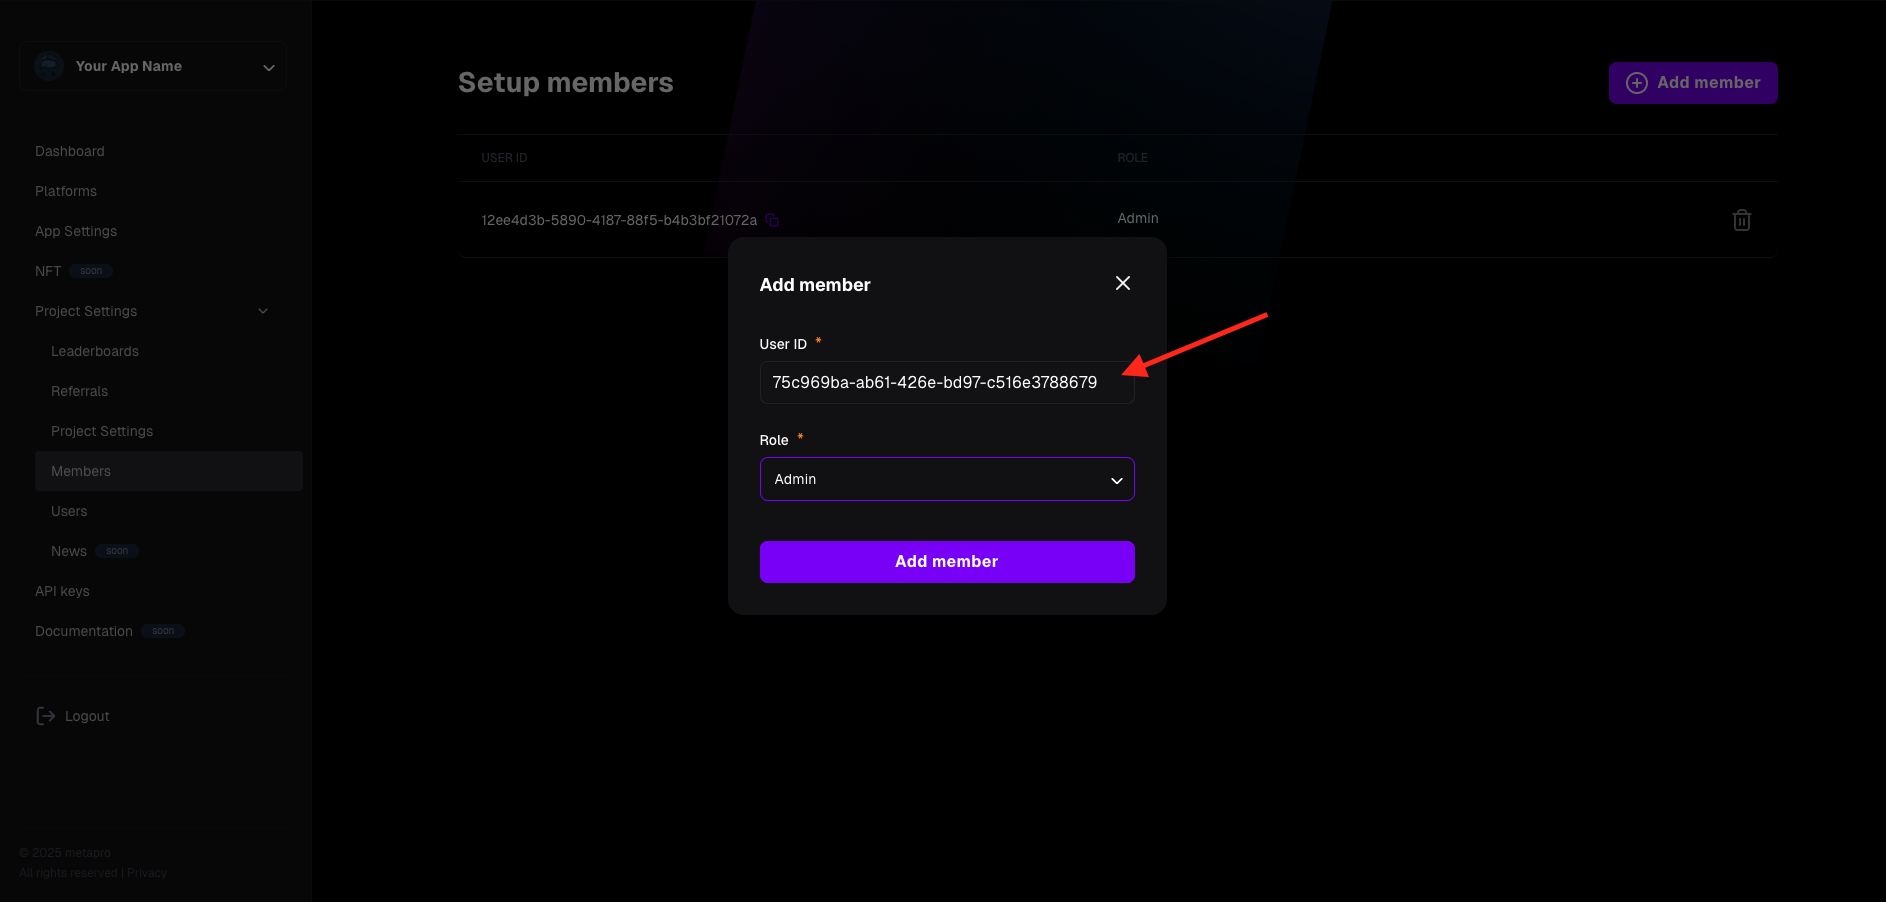
- Click the "Role" dropdown and select the appropriate role:
- Admin: Full permissions, including managing the project and its members.
- Developer: Can manage the project, but cannot manage members.
- Marketing: Limited to managing content, such as editing project details, applications, and platform settings.
- Click the "Add member" button to confirm.
- After saving, you’ll return to the Members view. A toast message will confirm the user has been added, and the new member will appear in the list.
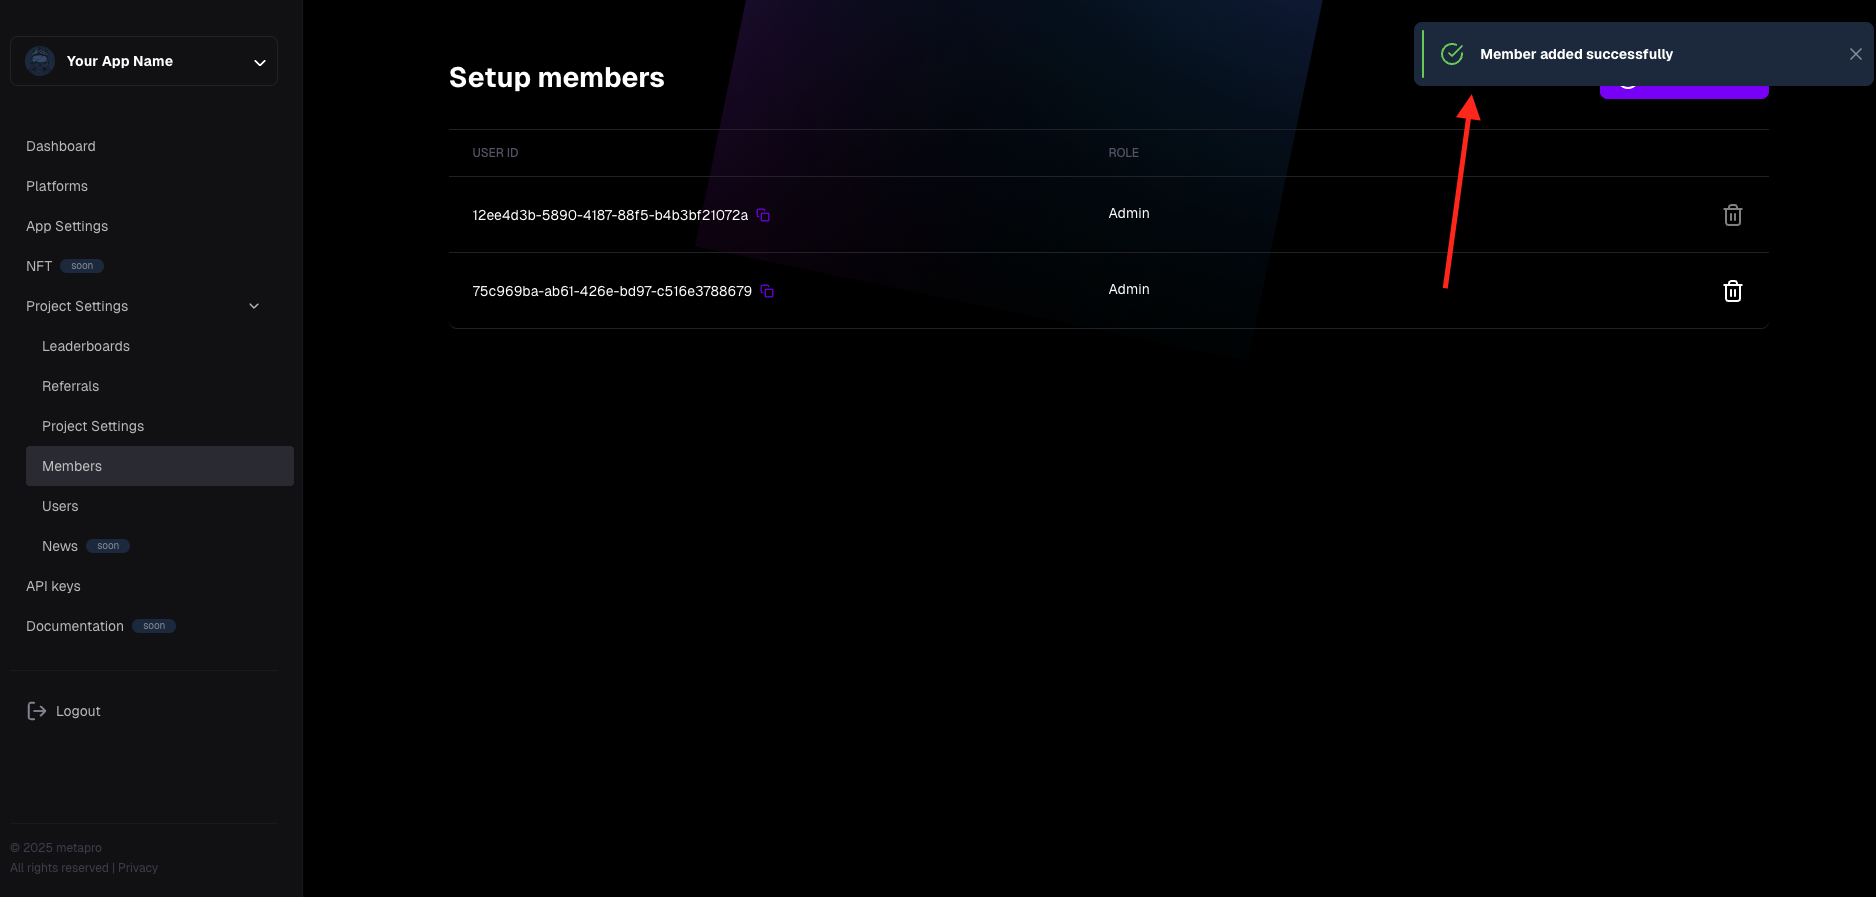
The added user will now have access to your project upon logging in, with permissions based on their assigned role.
Removing a Member
Important: You cannot remove the project owner.
To remove a member from your project, follow these steps:
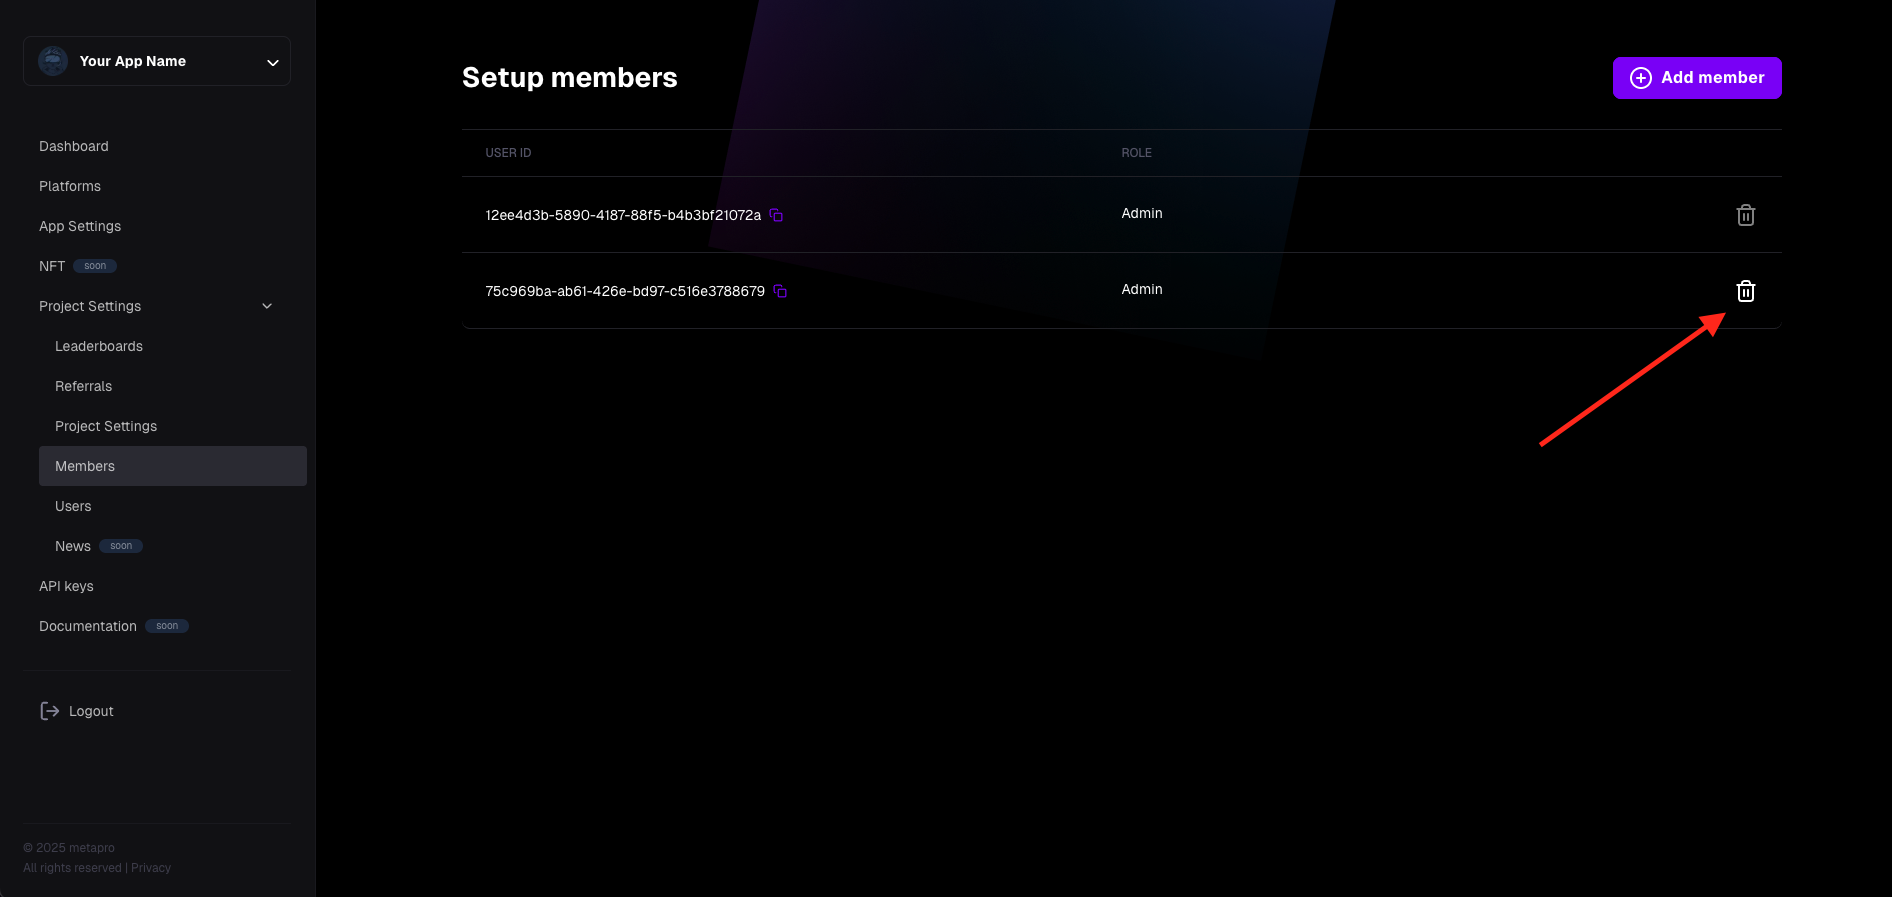
- Navigate to Project Settings -> Members. (Note: You must have the Admin role to perform this action.)
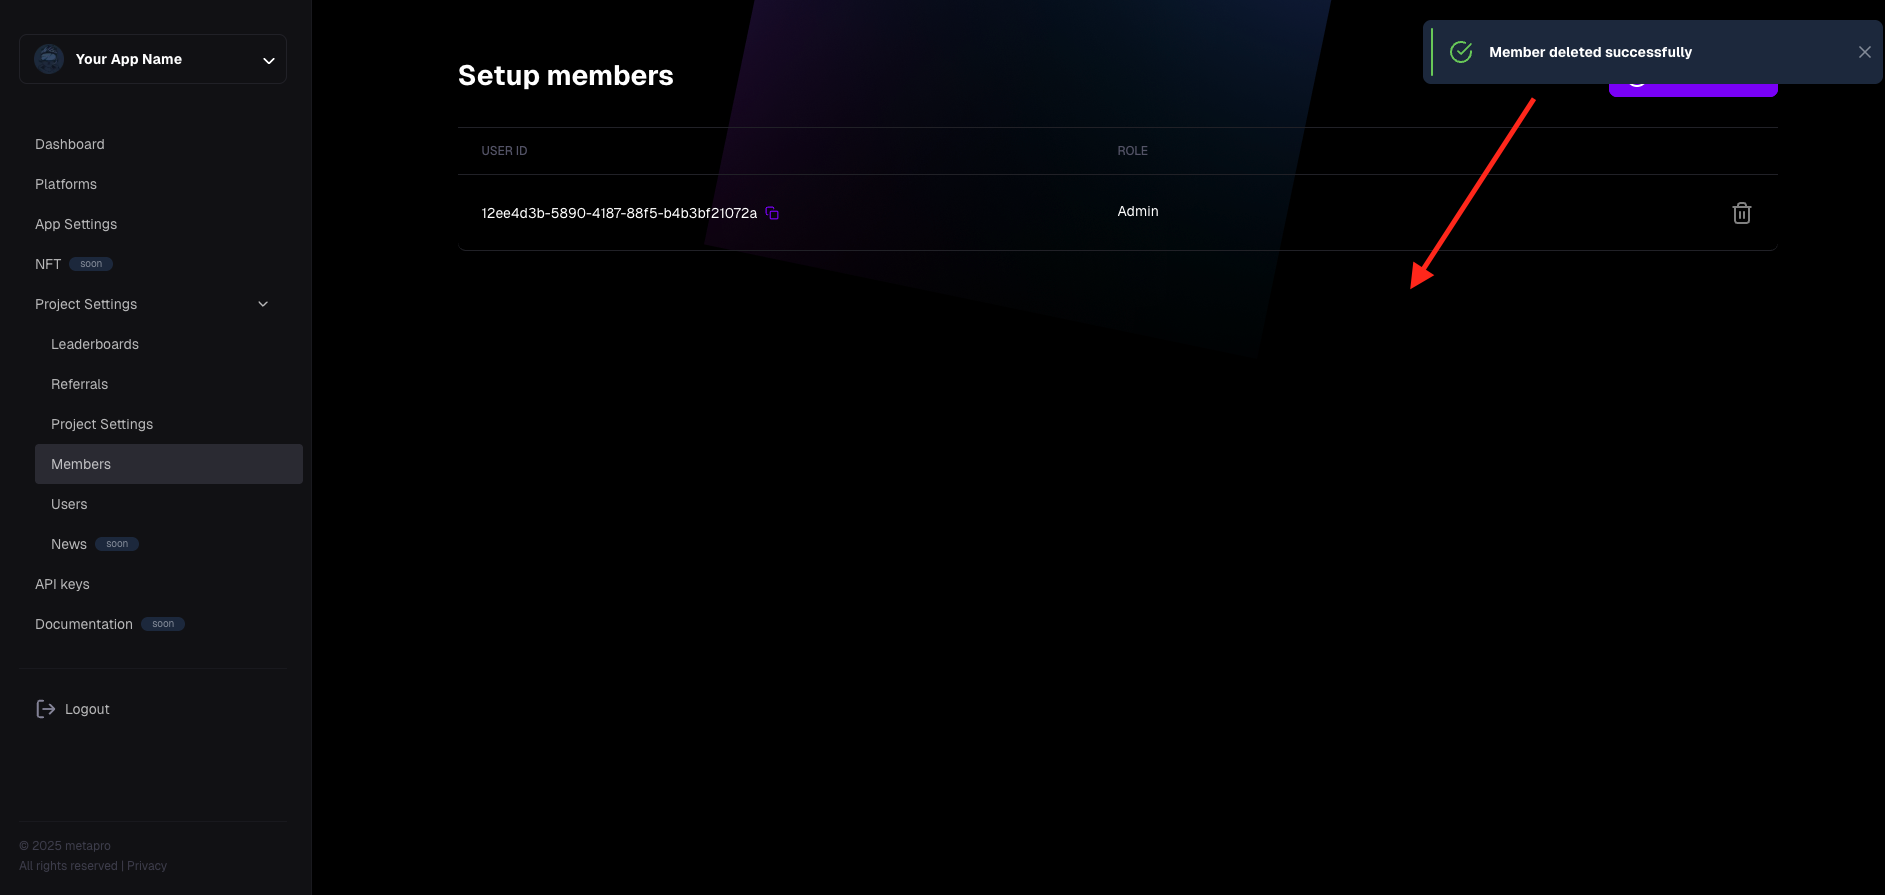
- From the list, select the user you want to remove. Click the trash can icon next to their name.
- In the confirmation dialog, confirm the removal.
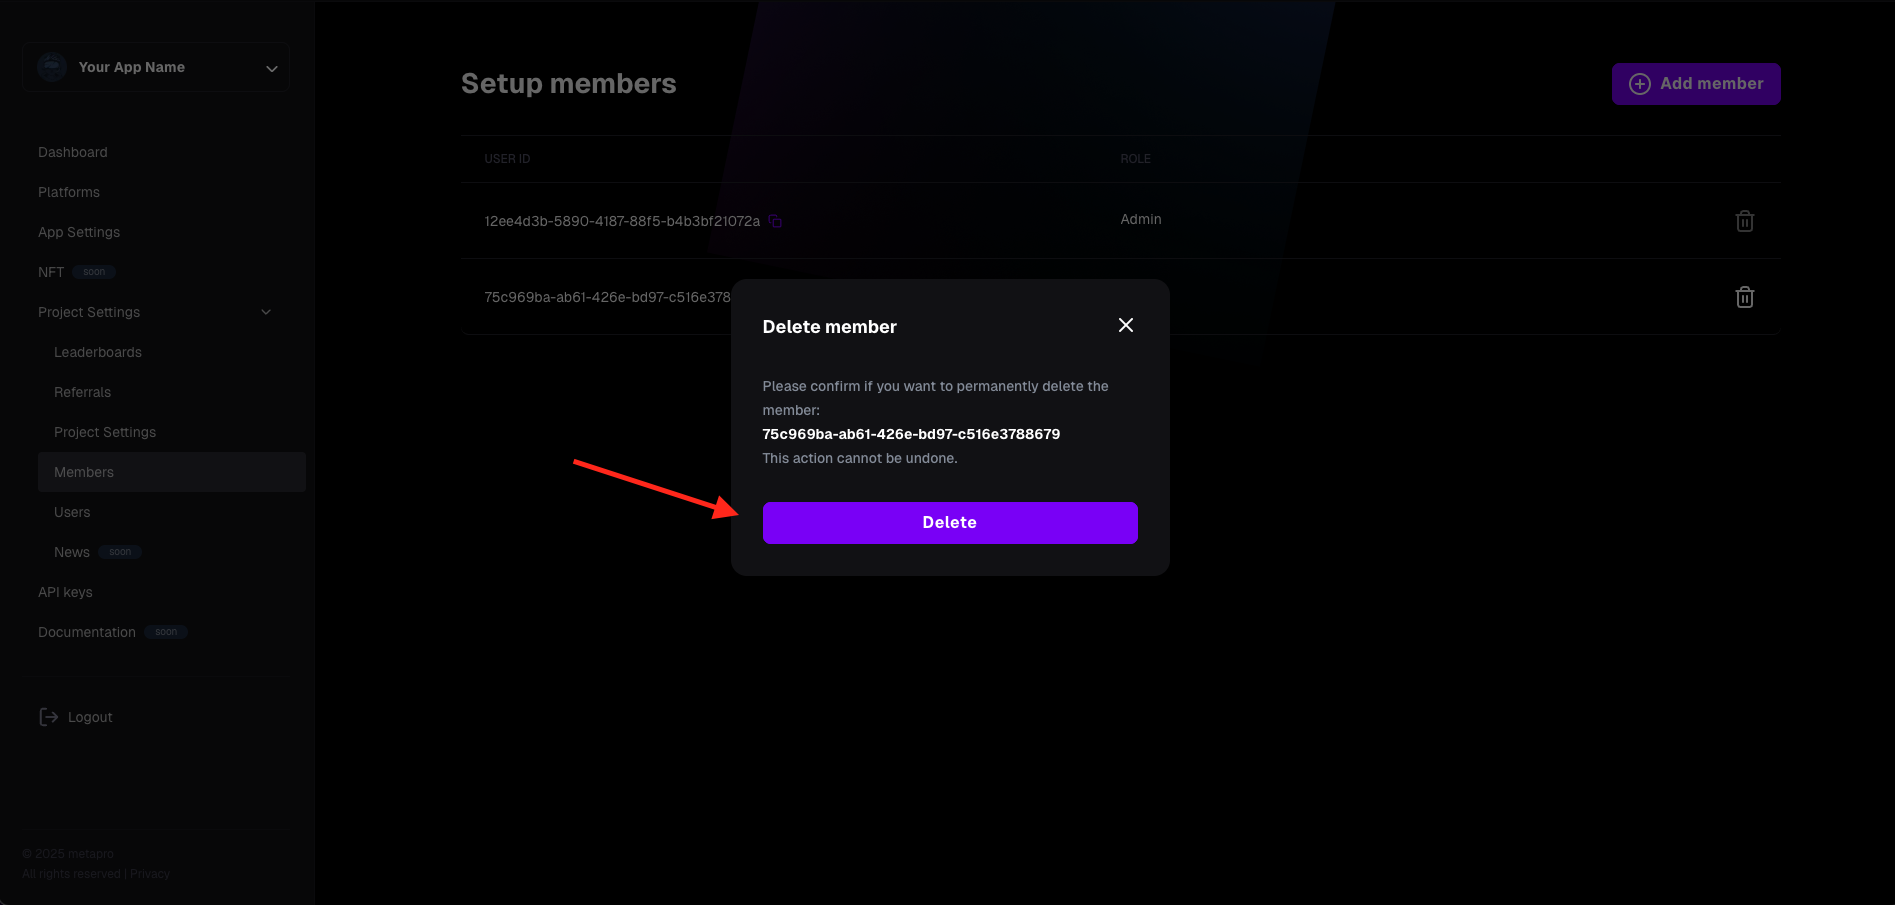
- After confirmation, you’ll return to the Members view. A toast message will confirm the user has been removed, and they will no longer appear in the list.
The removed user will no longer have access to your project.
This guide should help you manage your project’s team effectively. For additional technical details, refer to the technical documentation.